


Description
The Art and Science of Threading Steel Pipes: A Comprehensive Guide
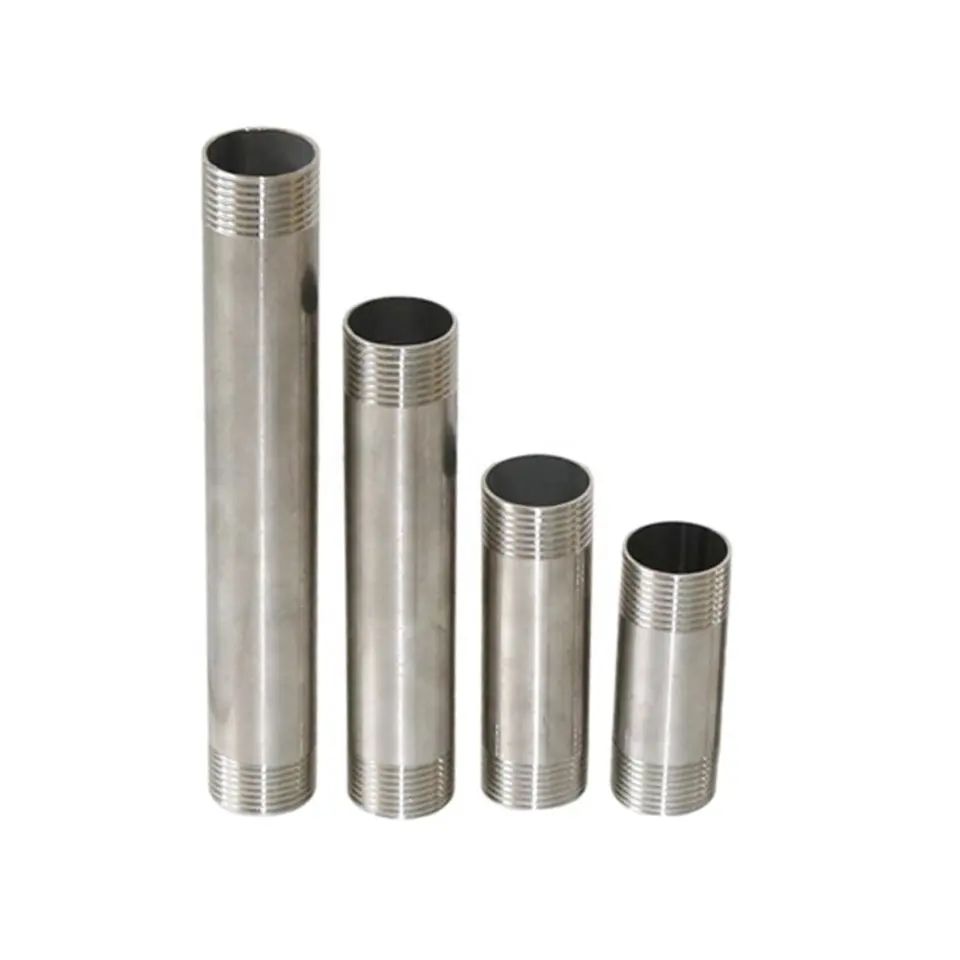
Threading steel pipes is a fundamental skill in plumbing, construction, and various industrial applications. It’s the process of creating helical grooves on the outside of a pipe, allowing it to be securely joined to fittings and other pipe sections. While modern alternatives exist, threaded connections remain a robust and reliable method for creating strong and leak-proof systems. This article delves into the art and science behind threading steel pipes, covering the tools, techniques, and considerations involved in creating quality threads.
Why Thread Steel Pipes?
Before exploring the process, it’s essential to understand the advantages of threaded connections:
- Strength and Durability: Threaded connections, when properly executed, provide a strong and enduring joint capable of withstanding significant pressure and stress.
- Cost-Effectiveness: Compared to welding or specialized joining methods, threading can be a more economical option, especially for smaller projects.
- Accessibility and Repair: Threaded connections are relatively easy to disassemble and repair, making them advantageous for systems requiring maintenance or modifications.
- Versatility: Threaded pipes are widely compatible with a range of fittings, valves, and other components, offering flexibility in system design.
Essential Tools for Threading Steel Pipes:
Successful threading requires specialized tools that can efficiently and accurately cut the desired threads. Here’s a breakdown of the key equipment:
- Pipe Vise: A sturdy pipe vise is crucial for securely holding the pipe in place while threading. Choose a vise with serrated jaws that grip the pipe tightly without causing damage.
- Pipe Cutter (or Saw): A dedicated pipe cutter is the preferred method for creating clean, square cuts. Alternatively, a hacksaw can be used, but requires more precision and effort.
- Reamer: A reamer is essential for removing the burr left on the inside edge of the pipe after cutting. This ensures smooth flow and prevents damage to the threading dies.
- Threading Die and Stock (or Power Threader): The threading die is the heart of the process. It’s a circular tool with precisely machined cutting teeth that create the threads. The stock provides leverage for turning the die, while a power threader automates this process, saving time and effort, especially for larger pipes.
- Cutting Oil: Lubricating the pipe and die with cutting oil significantly reduces friction, heat, and wear, leading to cleaner, more accurate threads and prolonged tool life.
- Measuring Tools: Calipers or a thread gauge are crucial for verifying the thread size and ensuring compliance with industry standards.
The Threading Process: A Step-by-Step Guide:
- Preparation is Key: Begin by carefully selecting the correct type and size of pipe for your application. Thoroughly inspect the pipe for any defects or damage.
- Cutting the Pipe: Use a pipe cutter to create a clean, square cut at the desired length. Ensure the cut is perpendicular to the pipe’s axis for optimal threading.
- Reaming the Pipe: After cutting, remove the burr from the inside of the pipe using a reamer. This step is crucial for preventing damage to the threads and ensuring proper flow through the pipe.
- Securing the Pipe: Place the pipe securely in the pipe vise, ensuring the cut end is exposed. Tighten the vise firmly, but avoid overtightening, which could damage the pipe.
- Applying Cutting Oil: Generously apply cutting oil to the end of the pipe and the threading die. This lubrication is essential for smooth cutting and extending the life of your tools.
- Starting the Thread: Carefully position the threading die onto the end of the pipe, ensuring it’s aligned correctly. Apply steady, even pressure and begin turning the die clockwise (for right-hand threads).
- Cutting the Threads: As you turn the die, continue to apply consistent pressure and lubrication. Back off the die slightly after each rotation to clear chips and ensure smooth cutting.
- Checking the Threads: Periodically check the threads using a thread gauge or calipers to ensure they meet the required specifications. Continue threading until the desired thread length is achieved.
- Removing the Die: Once the threads are complete, carefully remove the die by turning it counterclockwise.
- Cleaning the Pipe: Thoroughly clean the pipe, removing any remaining cutting oil and metal shavings.
Important Considerations:
- Thread Standards: Adhere to recognized thread standards, such as NPT (National Pipe Tapered) threads, to ensure compatibility with fittings and other components.
- Cutting Oil Choice: Select a high-quality cutting oil specifically designed for threading steel.
- Tool Maintenance: Regularly inspect and maintain your threading tools to ensure they are in good working condition. Sharpen dies when necessary.
- Safety Precautions: Wear appropriate safety gear, including safety glasses and gloves, to protect yourself from metal chips and other hazards.
Beyond Manual Threading: Power Threaders
For larger projects or frequent threading, power threaders offer significant advantages in terms of speed and efficiency. These machines automate the threading process, reducing physical strain and providing consistent results. They are particularly useful for threading large diameter pipes or working in environments where manual threading is difficult.
Conclusion:
Threading steel pipes is a valuable skill that requires a combination of knowledge, technique, and the right tools. By understanding the fundamentals of the process, following the steps outlined in this guide, and adhering to safety precautions, you can create strong, reliable, and leak-proof threaded connections for a wide range of applications. Whether you’re a seasoned professional or a DIY enthusiast, mastering the art and science of threading steel pipes will equip you with a valuable and enduring skillset.


Reviews
There are no reviews yet.